
Adobe Photoshop is a digital photo editing software that deals with still photos.
Neck joint service is generally known as ghost mannequin or invisible mannequin service.Neck joint services are ordinarily employed to articulate or add up the neck to the promising image. As an example there's a picture that is usually captured in a very mannequin adjusted as front read and back read by the photographer. If the client’s demand is that the image must crop or to be adjusted whereas keeping solely the consisting wears that is dressed on the mannequin. On that sort of job assignment consumer sometimes give the rear label image that is consistently hooked up with the wear and tear.
Neck joint or Ghost Mannequin service is joining the neck with the front read image with bigger accuracy that looks to be a lot of aboriginal and naturalistic that the consumer could not differentiate it as manipulated or unnaturally produced or induced. E-shop, Clothing Photographers, the Ready-made business needed this service to capture worldwide customers. This services are for jeans, T-shirt, blazers, shirts, undergarments etc. to cut out images and furnish the image acurate look. It helps the customer to imagine themselves how it will look like when wearing the product. Ghost mannequin technique is included photo editing and helps the business to display their product.Neck joint services are ordinarily employed to articulate or add up the neck to the promising image. As an example there's a picture that is usually captured in a very mannequin adjusted as front read and back read by the photographer. If the client’s demand is that the image must crop or to be adjusted whereas keeping solely the consisting wears that is dressed on the mannequin.
You should not worry about this anymore as Ghost mannequin tutorial will help you learn how to remove the mannequin from the image and easily join the neck of the cloth.By the help of Photoshop image masking way, professional graphics designers of Clipping Path Studio India (CPSI) pull out or dole out the background from the accurate picture, accumulate the accuracy while ensuring to accumulate out the distortions, agree the changes and custom make of background. Applying classified Photoshop image masking appearance that usually makes occurred for altering the colors or doing of particular utilities.
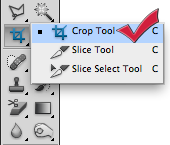
Select the Photoshop Pen tool to edit out the mannequin and remove the background from the garment image.
Start at the top of the collar right next to the mannequin’s neck at the top of the collar and begin working your way down along line of the neck. It doesn’t have to be absolutely perfect, just be sure to take small steps as you continue to work your way along the inside of the collar.
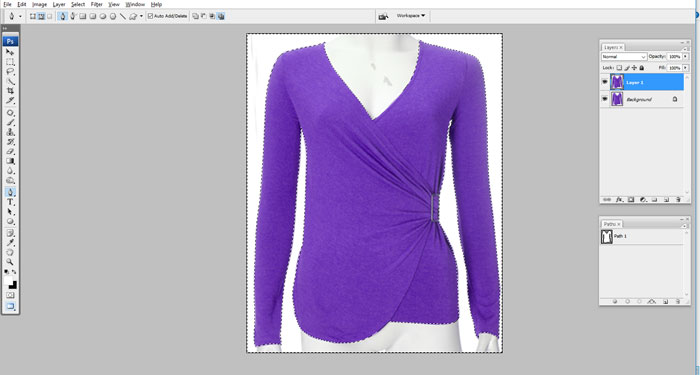
With your image open in Photoshop, open the Layers palette by clicking Window > Layers. Make sure the background layer is highlighted. Duplicate background layer by clicking Layer > Duplicate Layer.
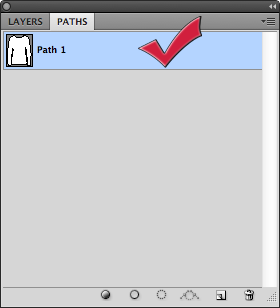
Hold the control/command key and click on the path palette to select the paths, Inverse the selection and Delete.
You can now open the inside of the garment cropping the collar area or label.
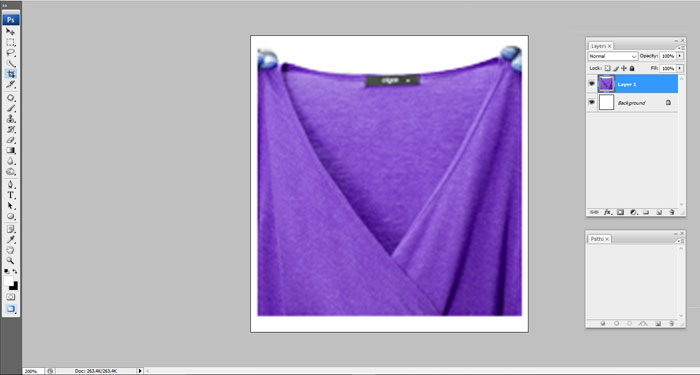

At this point, move the new piece under the first layer of the jacket’s front, then decide how much shirt you need after you are certain the replacement was successful. Select the pen tool, from the top of the collar cut through the area you inserted and cast out excess clothing.
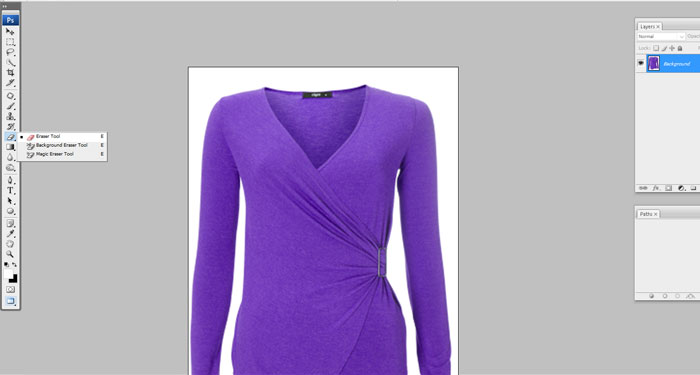
Click the Eraser tool to smooth out the rough edges and remove all the nicks and bumps on the collar. Blend in the areas so there is no seam between the collar and the inserted piece. You may leave a little shadow if you like for a natural look. Touch up any other areas to give it a more polished look.
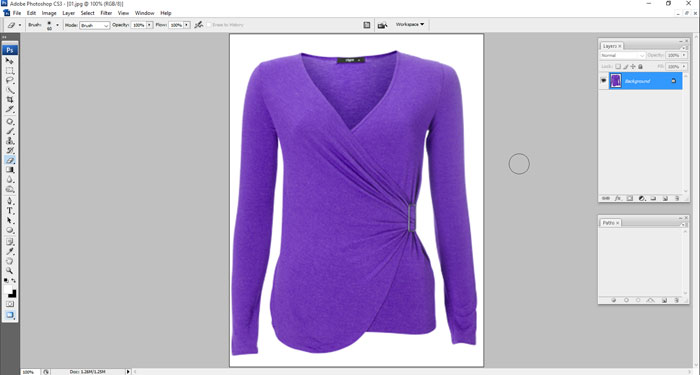
You can also use a Brush tool set a 25 size to add a little black/dark to the inside bottom of the collar near the top of the label to add a bit of shading for a more realistic look.